Friday, October 25, 2019

Jangri

Jangri was in my wish list for a long time. But never tried as I thought it would be complicated. I just wanted to give a try on mini Jangris this Diwali. To my surprise it came out so good on my first attempt just like the store bought ones. Its not at all complicated as I thought. I really regret for not trying this easy sweet these many days. With my hearty Diwali wishes here comes the recipe..

Jangri Recipe

Soaking time : 1 hr | Cooking time : 40 mins | Makes : 25 (mini)
Category : Sweet | Cuisine : Indian

Ingredients:

For the batter:
Whole white Urad dal - 1/2 cup
Rice flour - 1 tsp
Food color - few drops

For Sugar syrup:
Sugar - 3/4 cup
Water - 1/2 cup
Food color - 3 to 4 drops
Rose essence - 4 drops
Lemon juice - 1/4 tsp

For frying:
Oil as needed
Ghee - 2 tbsp

Method:

1.Soak the urad dal for 1 hr.

2. Grind it to a thick batter in a mixer or grinder sprinkling water now & then. Don't add more water as the batter will become flowy. When you drop the batter in a cup of water it should float. Its the right consistency.


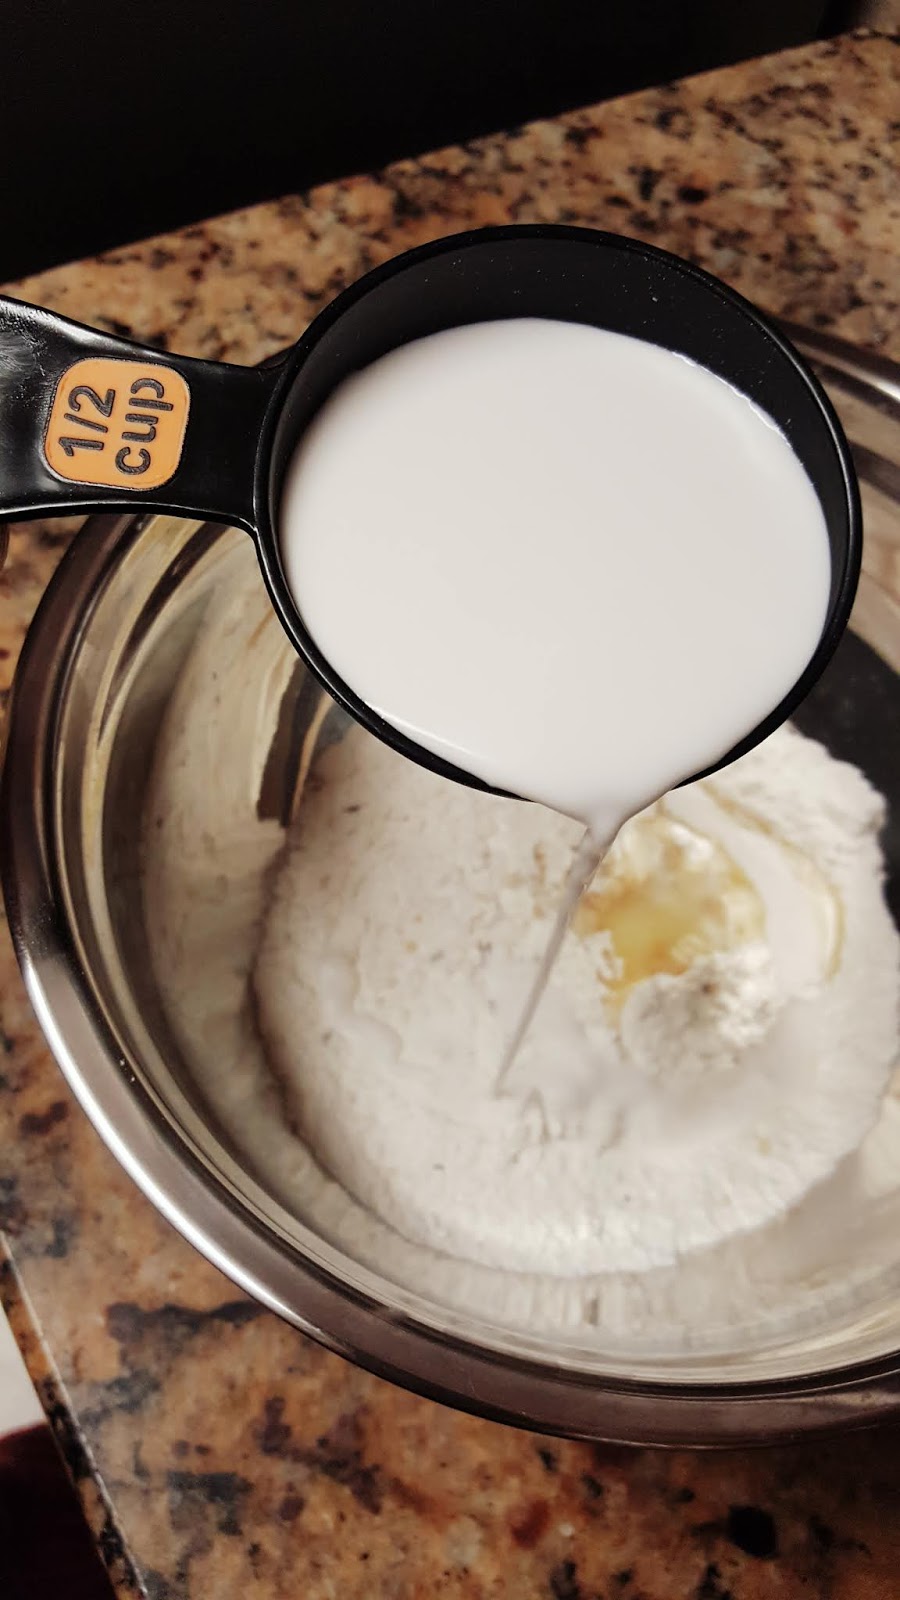
3. Add a tsp of rice flour & food color to the batter & mix well.


4. In a pan add sugar & water. Allow it to boil till it becomes sticky. No need to check for string consistency.


5. Add few drops of food color, rose essence & lemon juice(to avoid crystalization).


6. Heat oil in a pan. Add ghee in it for flavor. Keep it in medium flame.


7. Fill the batter in Jangri maker. First practice doing it on a plastic sheet or plate. Draw two circles as shown & over it draw small swirls over it.


8. In the heated oil start to squeeze the batter & draw jangris. The oil should be always in medium heat or else the jangris will get roasted. You can just draw 2 circles for mini jangris.
Once the jangris gets cooked on one side flip it with a skewer & fry till its slightly crisp.


 If you dont have a jangri maker, fill the batter in a ziplock cover. Put a small hole at the tip & squeeze as shown below.

9. Drop the fried jangris to the sugar syrup. Let it soak for 2 minutes & take out carefully.


10. Arrange it in a plate & serve it after 1/2 hr for juicy jangris.


Friday, April 12, 2019

Aloe Vera Kheer (Payasam)


Kheer made with Aloe Vera..Doesn't it sound interesting😊 Yup..sharing with you a quite different recipe I tried with my own ideas & was pretty much surprised with its amazing taste. Aloe Vera is most widely used for skin care & healing inflammation. Its not only good for the skin but also has numerous health benefits when taken internally which includes regulation of blood pressure, heals ulcers, regulates blood sugar, promotes healing of bones & joints, strengthens immune system, heals internal tissue damage, making an excellent natural nutrition supplement.

There is a common belief that Aloe Vera tastes bitter. Even I thought so. But if we follow the correct procedure of cutting & cleaning, you will never have a trace of bitterness. I'm sure you'll definitely love this recipe. Please follow the instructions carefully while cutting & cleaning.

Aloe Vera Kheer Recipe

Preparation time : 15 mins | Cooking time : 20 mins | Serves : 4
Category : Dessert

Ingredients:

Aloe Vera - 1/2 leaf (if big)
Sago/Sabudana/Javvarisi - 2 tbsp
Milk - 3 cups
Sweetened Condensed milk - 3/4 cup
Cardamom powder - 1/2 tsp
Ghee - 1 tbsp
Cashews, Raisins - for garnishing
Saffron - few strands(optional)

Method

1. Cut the bottom part of the Aloe Vera & place it straight up in a bowl as shown below. Allow it to stand for 15 mins so that the yellow liquid drains off.


2. Meanwhile in a vessel boil 2 cups of water & add the Sago/Javvarisi & allow it to cook until it becomes soft & transparent.


3. In a frying pan add a tbsp of ghee & fry the raisins & cashews till golden brown & set aside.


4. In a heavy bottomed pan boil 3 cups of milk in medium flame.


5. Once the yellow liquid is drained off  the Aloe Vera wash it & cut the sides. Then cut the Aloe into cubes & peel of the skin completely as shown in the pic below.


6. Now wash the cubes at least 5-7 times to remove the gel consistency.


7. Cut the cubes into small pieces & wash it 3-4 times to remove the jelly.


8. In a pan add a tsp of ghee & fry the cut pieces for a minute.


9. Add it to the boiling milk & allow it to cook for 10-12 mins till it becomes soft. Stir it occasionally.


10. Once it got cooked add the sweetened condensed milk & stir well.


 11. Strain & add the cooked Sago/Javvarisi to it & stir well.


 13. Add the cardamom powder, roasted cashews & raisins. Garnish it with Saffron.


14. Switch of the stove once it starts to thicken.


Our delicious Aloe Vera Kheer is now ready to serve. Serve it hot/cold.


Friday, January 11, 2019

Thengai Paal(Coconut milk) Murukku


As Pongal is fast approaching I thought of posting this recipe for Thengai Paal Murukku. In my native place Pollachi & most parts of the Coimbatore district, Murukku is prepared in almost all the houses during the Pongal festival. I tried this murukku for the first time adding the coconut milk instead of water. It was so delicious with the nice aroma of coconut milk. Not only tasty, its also easy to prepare with simple steps. Now lets get into the procedure for making this addictive snack😋😋

Thengai Paal Murukku Recipe

Preparation Time : 10 mins | Cooking Time : 20 mins | Makes : 25 murukkus
Recipe Category : Snack | Recipe Cuisine : South Indian

Ingredients:

Rice flour/Idiyappam flour - 1 cup
Urad Dal flour - 1 tbsp
Roasted gram dal(Pottu kadalai) flour - 1/4 cup minus 1 tbsp
Jeera - 1 tsp
Sesame seeds - 1 tsp
Hing - 1/4 tsp
Butter(melted) - 1.5 tbsp
Coconut milk (thick) - 3/4 cup
Salt as needed
Oil for frying

Method:

1. In a mixing bowl add a cup of rice flour.


2. Add Urad dal flour & roasted gram flour to it.


3. Add sesame seeds & jeera.


4. Now add hing & salt as needed.


5. After adding all the ingredients mix it well & now add the melted butter.


6. Add the coconut milk little by little to the flour until you get a smooth dough consistency.


7. Heat the oil in a frying pan. To check the right temperature for frying, drop a tiny pinch of
dough in the oil. If it rises immediately its the right temperature.  

8. Take a small portion of the dough & fill it in the murukku maker. Squeeze it to the desired shape on a paper towel. Drop it gently in the heated oil. You can also squeeze it directly to the oil if you are well experienced.


There will be a bubbling sound while the murukku is getting cooked. Fry it on both sides till light golden color. Once its done cooking the sizzling sound stops & the oil will be clear. Remove from the oil with a laddle & place it in a paper towel.


Repeat the same for the rest of the dough.

Allow the murukkus to cool completely & store it in an air tight container.